What is a pressure reducer used for and how to install it?
Share
What is a pressure reducer used for and how to install it?
The water that enters our homes is sometimes distributed at too high a pressure. While this may seem practical at first glance, it often leads to inconveniences: leaks, premature wear of the installations, excessive water consumption. The solution? The pressure reducer . Let's see together what it's used for, when to use it, and how to install it correctly.
What is a pressure reducer?
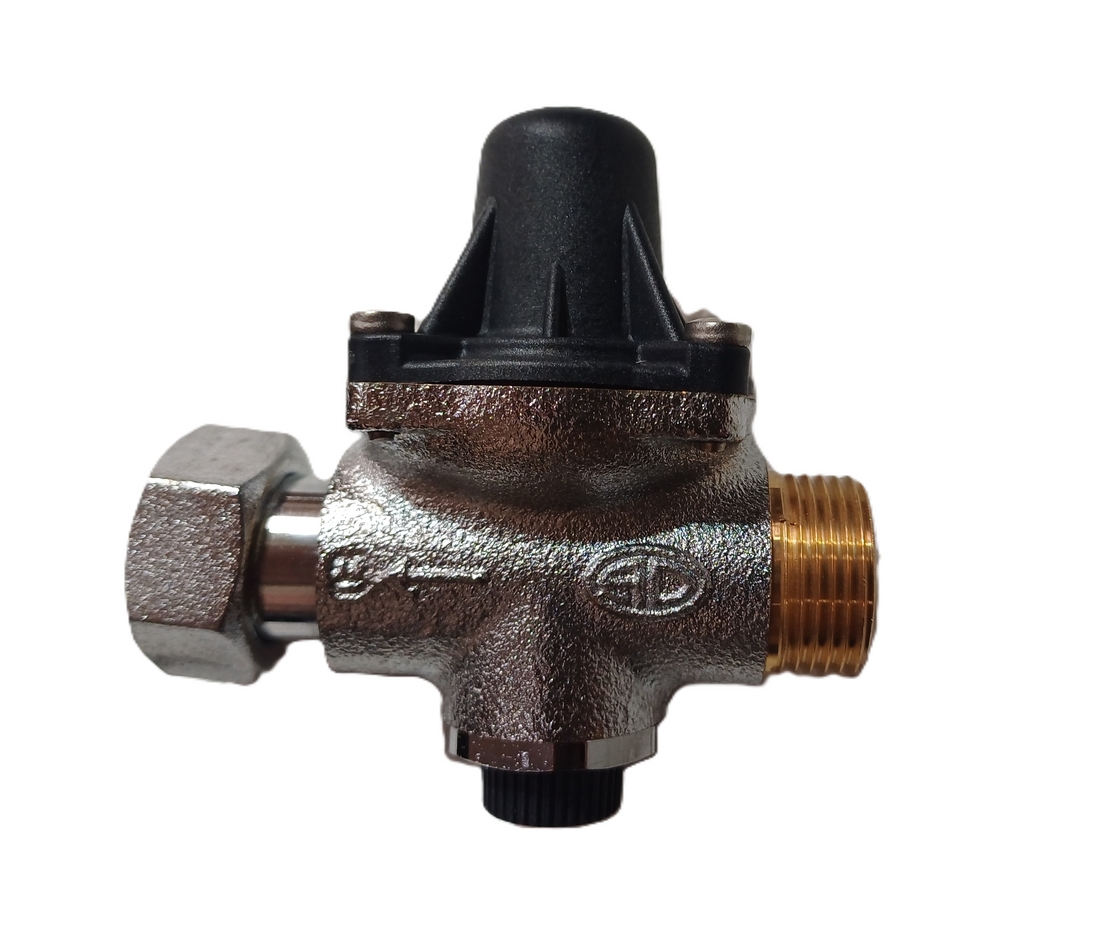
A pressure reducer is a mechanical device installed on a drinking water installation. Its main function is to regulate and stabilize the water pressure at the outlet of the meter, in order to protect the entire sanitary installation and ensure ease of use.
It generally consists of:
- of a brass or stainless steel body,
- of a spring and a membrane which regulate the flow,
- sometimes a pressure gauge to monitor the pressure in real time.
Why install a pressure reducer?
👉 Here are the main advantages:
-
Protect your devices
Washing machines, water heaters, faucets, boilers... all of these devices suffer when they are supplied with too much pressure. A pressure reducer increases their lifespan. -
Avoid leaks and water damage
Excess pressure can cause cracks in pipes or force seals, resulting in costly leaks. -
Save water and energy
Too much pressure leads to overconsumption of water, resulting in a higher bill. Lower pressure = less waste. -
Improve comfort
No more need to endure overly powerful or unstable jets in the shower!
When should a pressure reducer be installed?
The standard recommends a domestic pressure between 3 and 3.5 bars .
If the pressure at your water inlet exceeds 5 bars , it is strongly recommended to install a reducer.
💡 Tip: You can measure the pressure with a pressure gauge temporarily attached to a tap (e.g. outside or garage).
Where to install a pressure reducer?
The reducer is generally placed just after the water meter , upstream of the entire installation.
This helps protect the entire home network.
⚠️ Important: it must remain easily accessible for adjustment and maintenance.
How to install a pressure reducer?
Materials needed:
- a suitable pressure reducer (with or without pressure gauge),
- adjustable wrenches,
- sealing gaskets (Teflon or tow),
- possibly a die to adjust the threads.
Installation steps:
- Turn off the water supply at the meter.
- Drain the network by opening a tap to release the residual pressure.
- Prepare the fittings by putting Teflon or oakum on the threads.
- Install the reducer in the direction indicated by the arrow on the body of the device (direction of water circulation).
- Tighten the fittings without forcing, to avoid damaging the brass.
- Turn on the water gradually and check for leaks.
- Set the desired pressure using the adjustment screw (often accessible on top). Turn in one direction to increase, in the other to decrease.
Maintenance and lifespan
A quality pressure reducer can last 10 to 15 years . It requires little maintenance, but it is advisable to:
- check the pressure every 1 to 2 years,
- clean the integrated filter (if present) to prevent limescale deposits.
Conclusion
A pressure reducer is a small investment that saves a lot of hassle: protecting appliances, reducing leaks, saving water, and increasing comfort. Its installation is within the reach of even a skilled DIYer, but if in doubt, don't hesitate to call a plumber.
👉 In our store, we offer different models of reducers adapted to your needs: with integrated pressure gauge, compact or adjustable.